
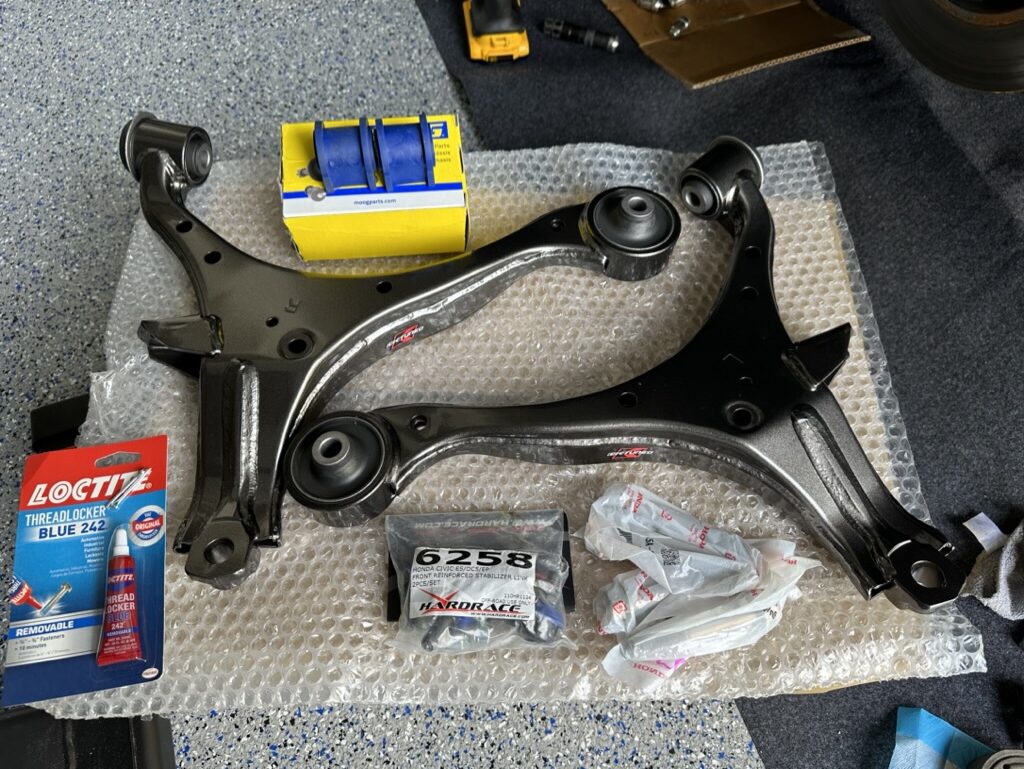
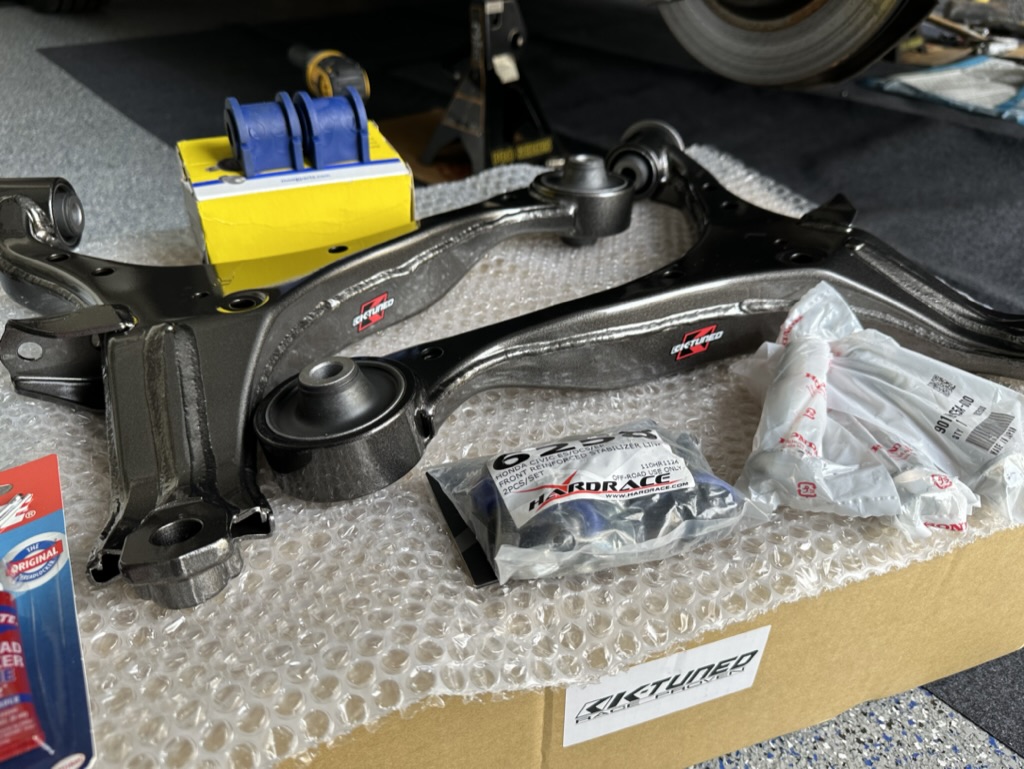
The KTuned Front Lower Control Arm can really refresh your old ride. Strong metal arms with refreshed hardened bushings is a must for great ride quality. Changing out those older dried up bushings with a new set of KTuned Front Lower Control Arms was my goal.
My Current Car Suspension
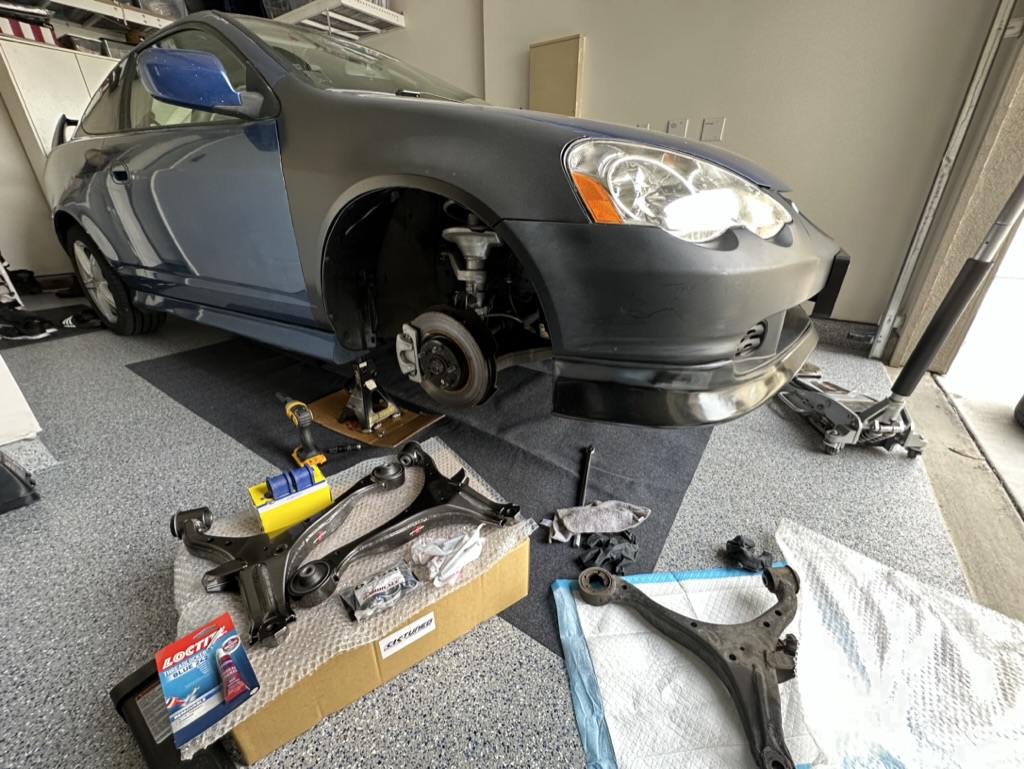
The ride quality of the blue RSX hasn’t been so good. It hasn’t been not smooth at all. It feels more bumpy with some clunky noises. This car definitely doesn’t feel like the first RSX I had. Of course it’s been 10+ years since I had one, but there are some things you don’t forget. Currently, the RSX is on a stock ride height, but from the looks of it, the shocks are aftermarket, like an Autozone or O’reilly brand. Regardless, I took a closer look and the suspension components around it look worn.
I’m starting to realize that I’m going to have to change all of it if I want to achieve a good street car. Especially if I want to take it to the track one day. I decided to start with changing out all of the front bushings. For the RSX, the front bushings are basically all coming from the front lower control arm. Two bushings connect the front lower control arm to the subframe of the car. While the 3rd mounting point for the front lower control arm connects to the front knuckle via a ball joint.
Performance Parts: KTuned Front Lower Control Arm
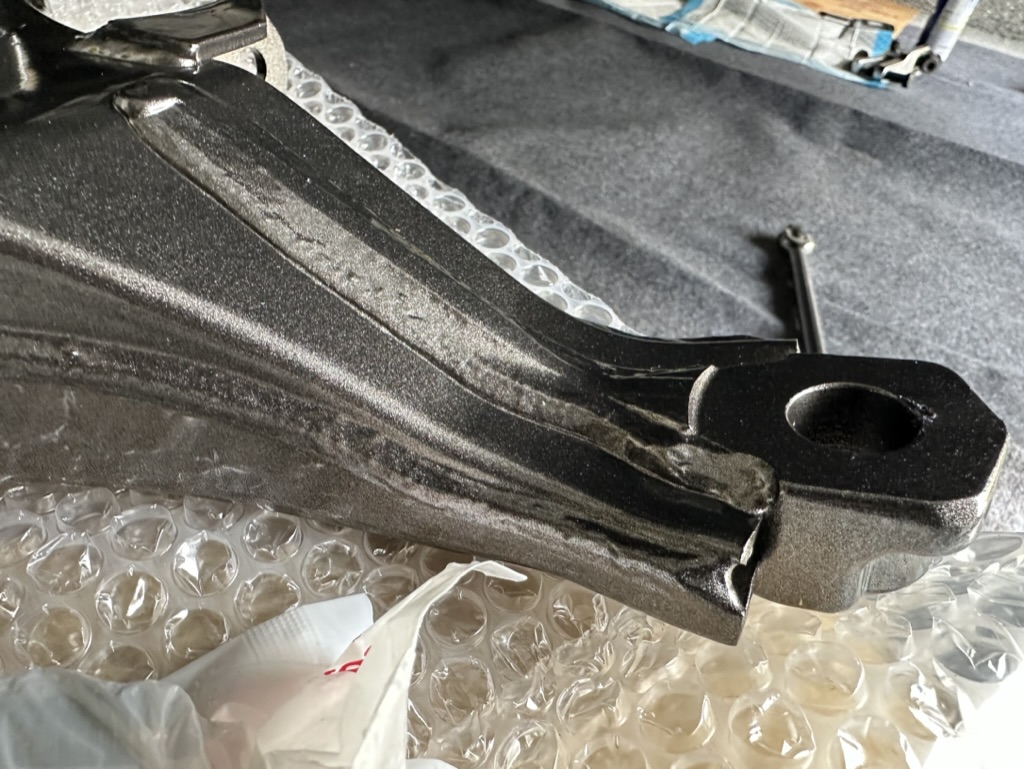
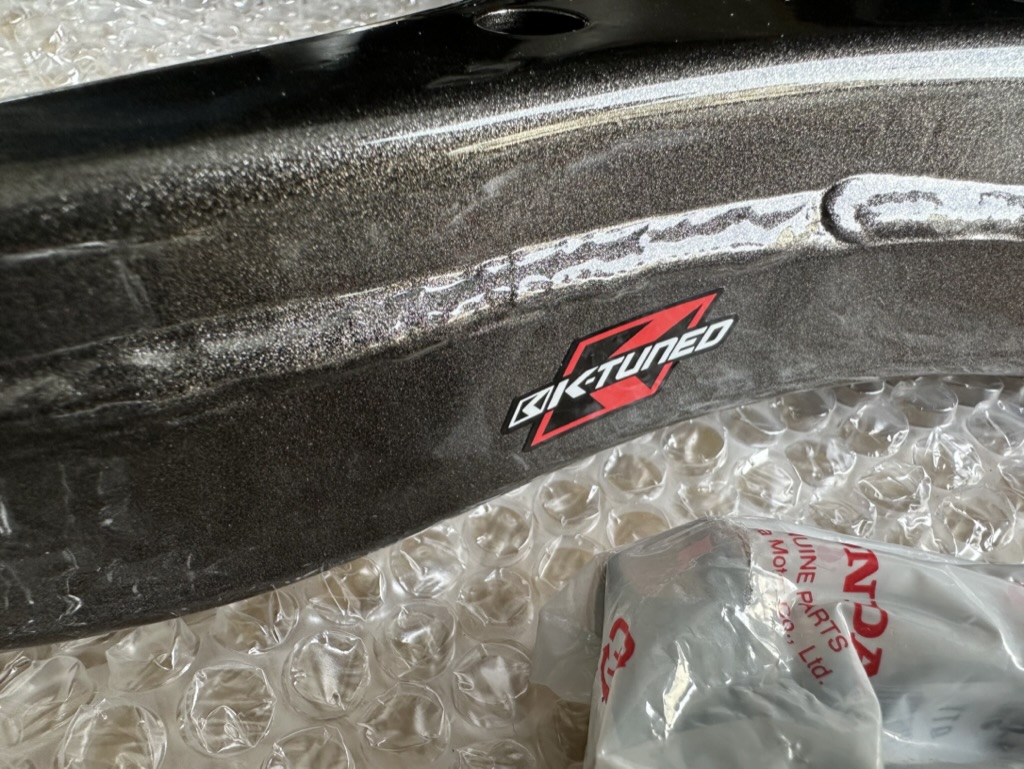
I found a really great product at a decent price. The KTuned lower control arm for the front of the car comes with 2 bushings connected to it already, and they come with hardened rubber which should be a bit more performant than OEM. You can also get Hardrace and various other ones. Most RSX owners that want to do brembos and a type R conversion usually get the swaybar and the aluminum Type R lower control arms. These control arms are not only lighter, but a bit longer than the type S and base mode.
Installation Process
The whole process involved disconnecting the sway bar end link, ball joint, and taking off 2 bolts connected to the chassis/front subframe.
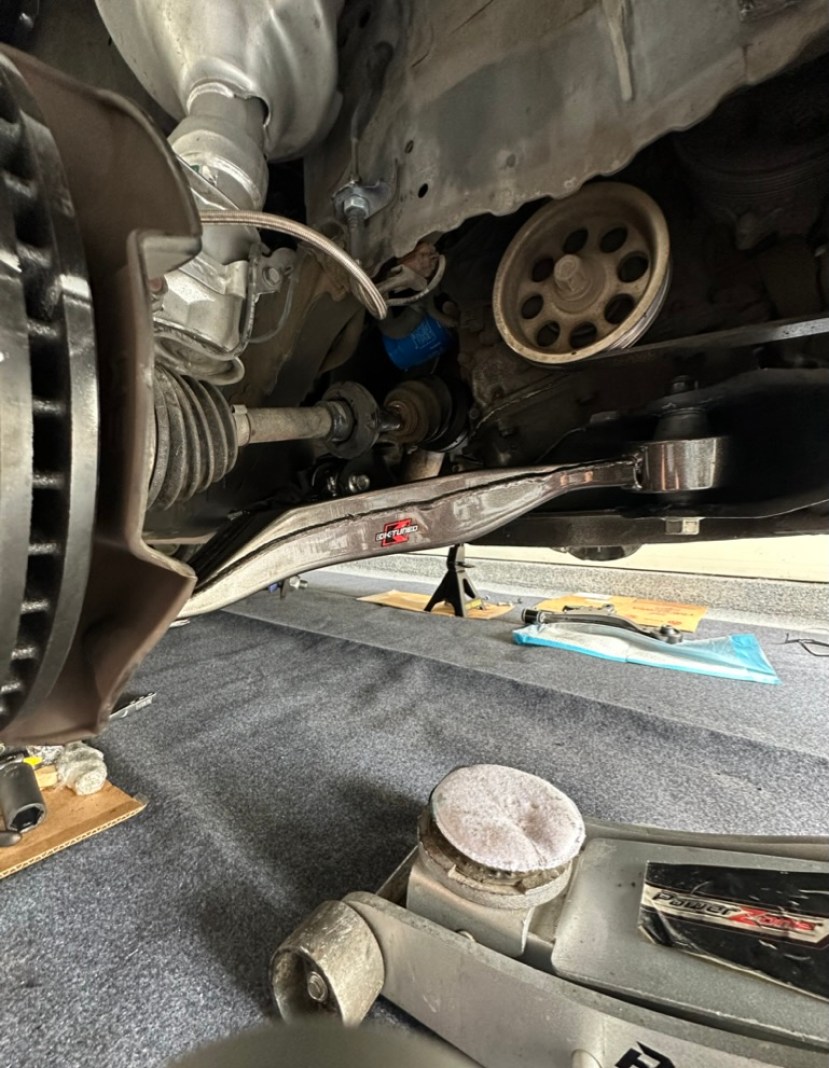
The removal of the old control arms was challenging, but I was able to get through it. I used a ball joint puller tool to pop out the ball joint. Then used my M12 right angle impact gun to loosen the bolts. The old bushings were so brittle that they just fell right out when removing the control arms. It was really riding metal to metal.
Install of the KTuned front lower control arm is a breeze one you remove it, however I found a pretty torn ball joint that was coming out from the knuckle.
The LCAs look good, but now my next project will be replacing the front ball joints. More on that soon, but you can see the video install here on my YouTube channel: Installing KTuned Front Lower Control Arms Installation on RSX Type S (DC5)


I’m restoring a 20 year old JDM car, an Acura RSX Type S (DC5 Integra), to see more posts and videos on my build, check out my project page.